Your Hero Photo Room: Styling the Shot That Gets the Click
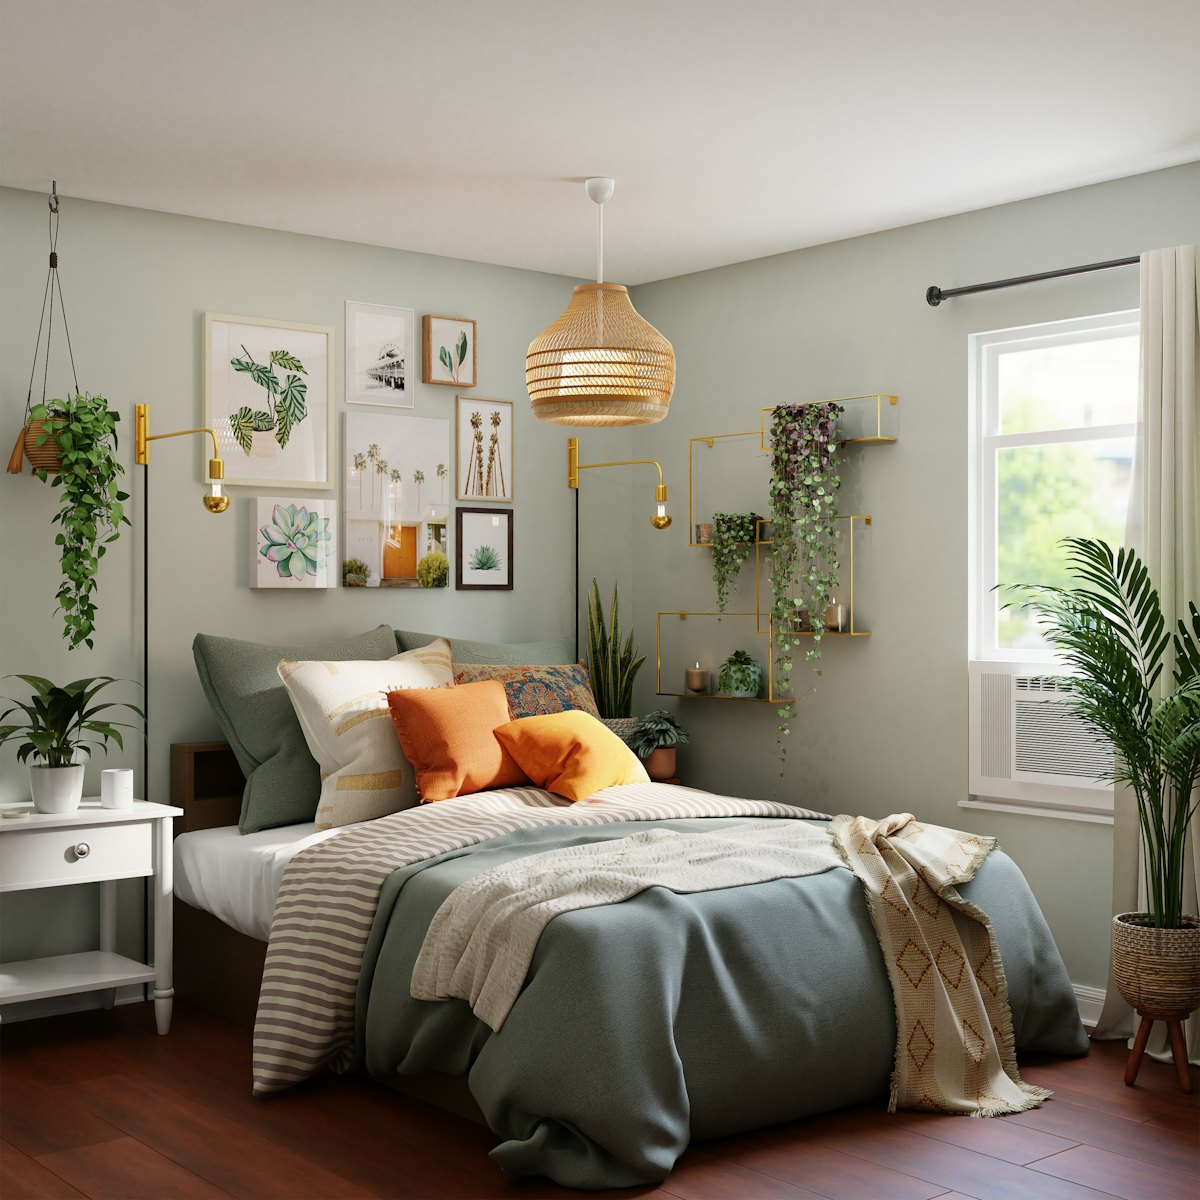
Your hero photo is the cover image of your Airbnb listing — the first, largest photo a guest sees in search — and it carries most of the decision to click. Guests scroll a grid of thumbnails and pick which listings to even open based almost entirely on that one shot. So the job is to choose the right room, style it to feel calm and inviting, and shoot it in great light. Crucially, you plan all of that with AI previews, then photograph the real room — because your hero photo must honestly show the space a guest will actually stay in. Here’s how to get it right.
What is a hero photo, and why does it decide everything?
The hero photo is the single lead image that represents your entire listing in search results and on the map. It’s the largest thing on the screen at the moment a guest is deciding between you and a dozen competitors, and that decision happens in a glance. Everything else in your listing — the other photos, the description, the price — only gets seen if the hero earns the click first.
That’s why hosts who obsess over their nightly rate but settle for a dim, cluttered cover photo are optimizing the wrong thing. A better hero photo widens the top of your funnel: more clicks means more views of the full listing, which means more bookings at the same price. It’s the highest-leverage image you own.
Which room should be your hero?
The best hero is the room that is simultaneously the most inviting and the most representative of the stay. In practice that’s almost always one of two rooms:
- The living room — if it’s bright, open and where guests will actually spend their time, it signals “you’ll be comfortable here.” A well-composed living room implies the rest of the space is cared-for too.
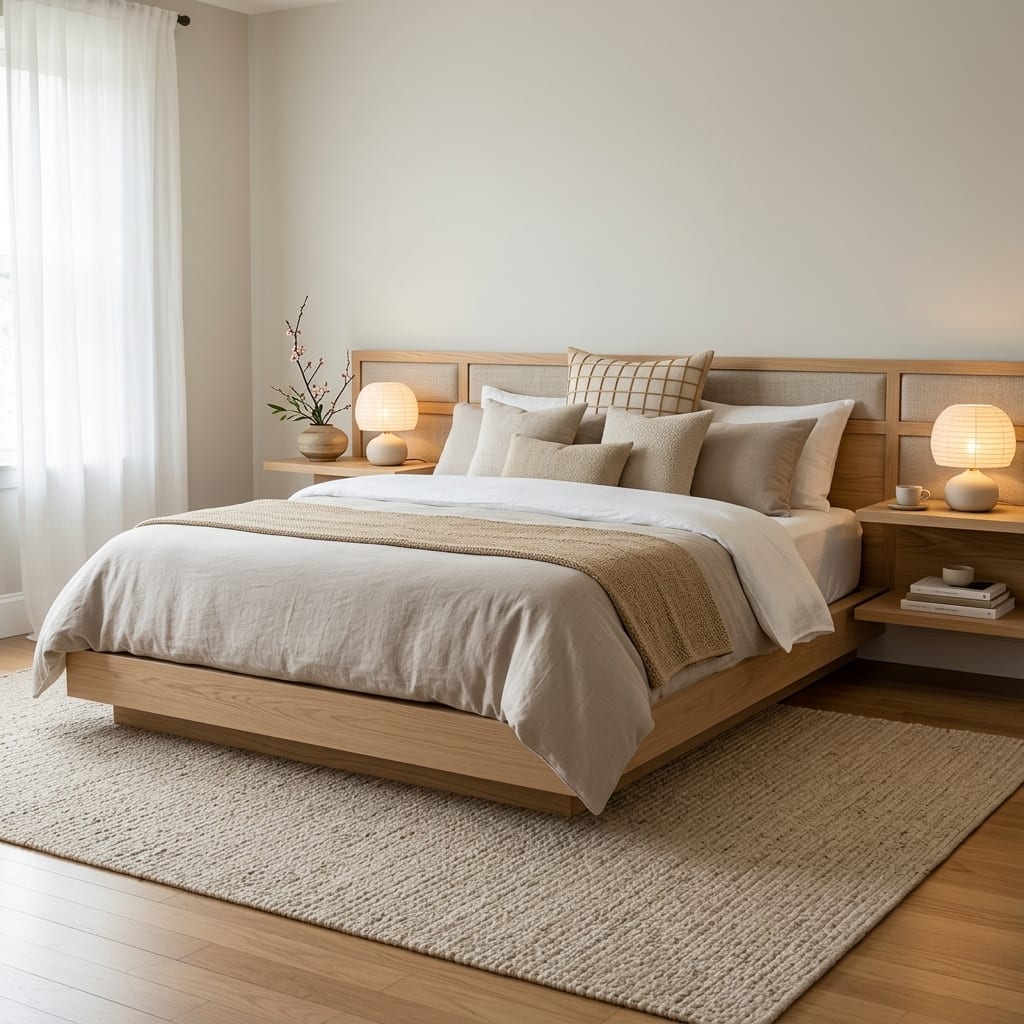
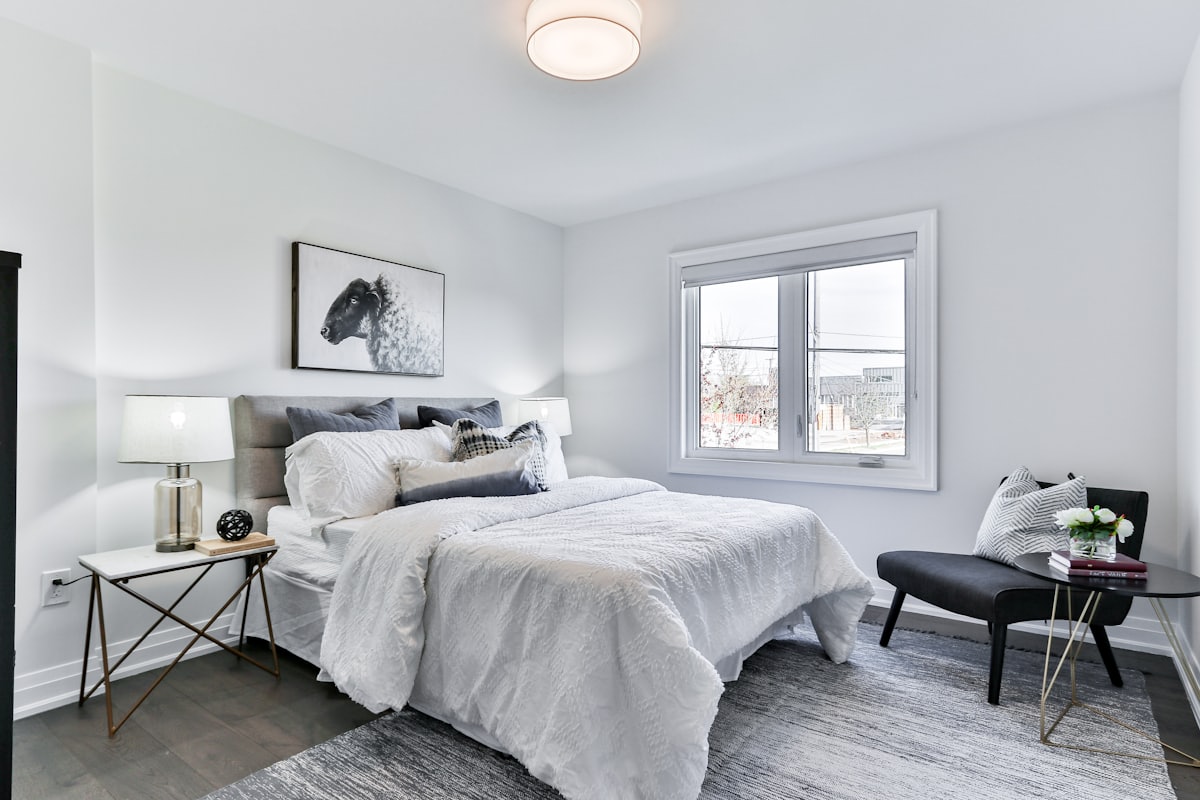
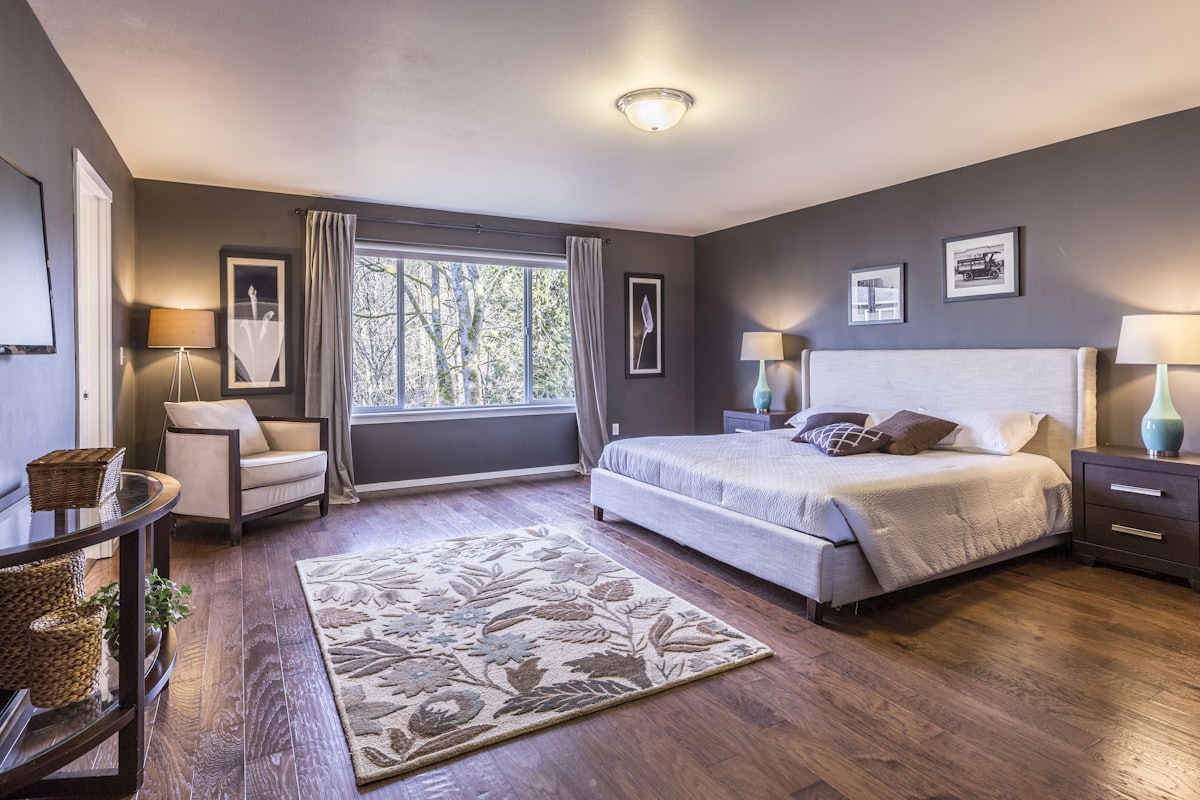
- The primary bedroom — for many stays, especially couples’ getaways and city apartments, the bed is the product. A crisp, hotel-styled bedroom is an extremely effective hero.
A few tiebreakers when you’re deciding:
- Pick the brightest room. Light beats everything in a thumbnail. A slightly plainer room in beautiful daylight out-clicks a fancier room in gloom.
- Pick the room that reads at thumbnail size. Shrink each candidate to the size of a phone search result. The winner is whichever still looks clear, calm and appealing when small — busy rooms turn to visual mush.
- Avoid the tour-guide instinct. You don’t have to lead with the “biggest” or most unusual room. Lead with the most flattering one.
If your strongest space is genuinely a standout kitchen or a view, those can work too — but for most listings, the living room or bedroom is the safe, high-converting hero.
The hero-shot styling checklist
Once you’ve chosen the room, style it deliberately. The hero photo rewards restraint: calm, uncluttered rooms photograph as premium.
- Declutter ruthlessly. Clear every surface of anything that isn’t intentional. Empty counters and tidy shelves read as “clean and spacious.”
- Make the bed like a hotel. If the bedroom is your hero: crisp white or neutral bedding, layered pillows, a folded throw. This one move does enormous work.
- Add depth. Style the room so the eye travels — foreground, mid-ground, background. A plant or lamp in the near corner and a considered wall beyond gives the flat thumbnail dimension.
- One clear focal point. A styled bed, a well-arranged sofa-and-coffee-table vignette, a framed view. The eye should land somewhere on purpose.
- Warm, layered light. Turn on lamps even when shooting in daylight; a couple of warm light sources make a room feel lived-in and expensive rather than clinical.
- Fresh, simple accents. A plant, a stem in a vase, a stack of books. Small signs of life, not a shelf full of knick-knacks.
- Nothing broken or dated in frame. The chipped lamp, the tangled cable, the tired cushion — a hero photo shows all of it. Fix or remove before you shoot.
Plan the shot with AI, then photograph the real room
Here’s where AI earns its place — and where the one non-negotiable rule lives. AI previews are for planning your hero shot. They are never the hero photo itself. Your cover image must show the real room a guest will walk into; an AI-imagined version that’s brighter or better-furnished than reality is misrepresentation and a fast route to disappointed check-ins and bad reviews.
Used correctly, though, AI is the perfect pre-shoot planning tool:
- Test styling directions on your actual room. Upload a photo and preview two or three looks — a calmer palette, a warmer light, a restyled bed — to decide which direction makes your specific space photograph best before you buy or move a thing.
- Plan the declutter. A one-tap declutter or clean-room preview becomes a literal shot list of what to physically remove before the camera comes out.
- Choose the lighting mood. Relight and day/night previews tell you whether the room shoots best in bright midday or a warm evening glow, so you show up at the right time with the right lamps on.
Because results come back in seconds and there’s no signup to start, you can settle the whole styling plan in a few minutes on the interactive demo. Then you do the real work — make the changes, style the actual room — and only then pick up the camera. For the full host workflow around this, see our guide to AI room makeovers that help your listing stand out.
Shooting the real hero photo
With the room styled and the plan set, the photo itself is mostly about light and angle:
- Shoot in bright, even daylight — mid-morning or late afternoon, curtains open, overhead-only harsh light avoided.
- Frame straight-on, from the room’s best corner, at roughly chest height, so walls stay vertical and the space reads deep rather than distorted.
- Show floor and a bit of ceiling to convey real volume; cropping too tight makes a room feel boxy.
- Take many frames and pick the one that reads best small.
The same fundamentals that make a room photograph well for AI also make it photograph well for guests — our room photography checklist walks through light, angle and height in detail, and it applies directly to your listing shots.
Get the hero right and everything downstream improves: more clicks, more full-listing views, more bookings — all from the one photo that does the most work in your entire listing.
Frequently Asked Questions
What is an Airbnb hero photo?
The hero photo is your listing’s cover image — the first and largest photo guests see in search results. It carries most of the decision to click, so it should be your best-lit, best-styled, most inviting room shot.
Which room makes the best hero photo?
Usually the living room or the primary bedroom — whichever is brightest, most spacious-feeling and most representative of the stay. Pick the room that photographs best in a small thumbnail, since that’s the size most guests judge it at.
Can I use an AI-generated image as my hero photo?
No. Your hero photo must show the real room a guest will stay in. Use AI to plan the styling and lighting, make the real changes, then photograph the actual room. An AI-imagined cover is misrepresentation and leads to bad reviews.
How do I make my hero photo stand out in search?
Shoot in bright, even light, style the room to feel calm and uncluttered, frame it straight-on to show depth, and choose the version that still reads well shrunk to thumbnail size. Contrast and a clear focal point help it pop in a grid of competitors.
Want to plan the perfect hero shot before you style? Preview it first with Architectural AI — download it on the App Store, test styling and lighting on a photo of your actual room, then make the real changes and photograph the honest, click-worthy cover your listing deserves.
Keep reading