Gallery Wall Ideas and How to Hang Art at the Right Height
Most gallery walls fail on measurements, not taste. The frames are fine, the art is fine, and the wall still looks off because it sits 20 cm too high and the gaps are twice what they should be. Height is the number everyone guesses, and everyone guesses upward — because you hang art standing at the wall with your arm raised, not sitting on the sofa where you will actually look at it.
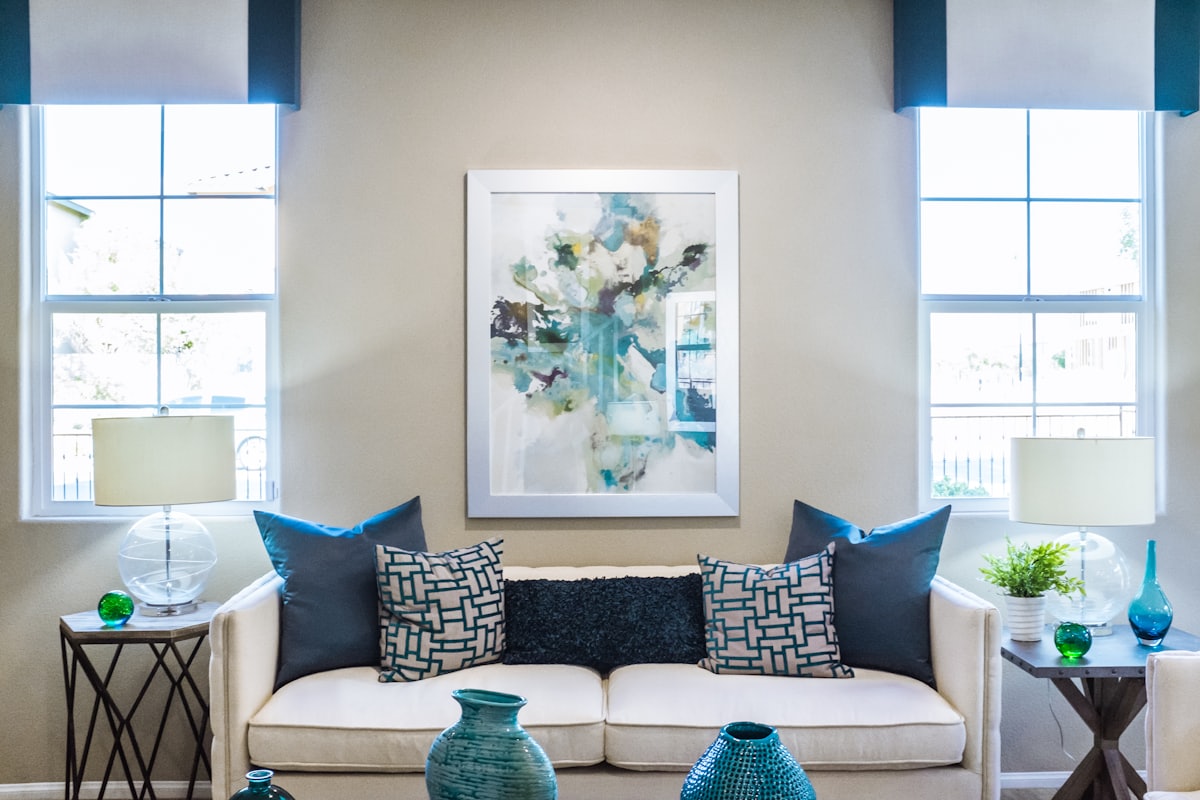
Hang a gallery wall so the centre of the whole arrangement — not the centre of each frame — sits 145-152 cm (57-60 in) above the floor, with 5-8 cm (2-3 in) between frames. Above a sofa, keep the lowest frame 15-25 cm (6-10 in) above the back and let the group span roughly two thirds of the sofa’s width.
The centre line is the only height that matters
Draw an imaginary rectangle around every frame you plan to hang, gaps included. That rectangle has a centre, and the centre goes at 145-152 cm from the finished floor. If your group is 90 cm tall and you pick 148 cm, the top edge lands at 193 cm and the bottom at 103 cm. When that bottom edge collides with a sofa back or a radiator, you change the shape of the group — you do not raise the whole thing.
The hook is not at the centre. Use:
hook height = centre line + (frame height ÷ 2) − how far the taut wire drops below the top edge
A 40×50 cm frame whose wire pulls to 7 cm below the top, hung on a 148 cm centre line, needs its nail at 148 + 25 − 7 = 166 cm. Skip that arithmetic and every frame hangs low by the length of its own slack, which is why so many carefully levelled walls still look wrong. With 3 m ceilings, resist centring the group in the wall — 152 cm is the ceiling on the rule, not a starting point.
Above a sofa, a console, a bed and a staircase
| Position | Bottom edge sits | How wide the group should be |
|---|---|---|
| Above a sofa | 15-25 cm (6-10 in) above the back | ~2/3 of sofa width (210 cm sofa → ~140 cm) |
| Above a console or sideboard | 15-25 cm above the top surface | ~2/3 of the console width |
| Above a bed or headboard | 15-25 cm above the headboard | ~2/3 of bed width (160 cm bed → ~105 cm) |
| Clear wall, no furniture | Set by the 145-152 cm centre line | Up to ~2/3 of the clear wall width |
| Staircase | Follows the stair pitch | Centre line 145-152 cm above each tread nose |
| Above a fireplace | 10-15 cm above the mantel | Mantel width minus ~20 cm each side |
The two-thirds rule is the one people break. Measure your sofa and multiply by 0.66 before buying anything. Four A4 prints and a 210 cm sofa is not a gallery wall yet. The same scale logic drives rug sizing in a living room: undersized things make a room look unfinished faster than almost anything else.
Four layouts, and who each one is for
Grid. Identical frames, identical mounts, 5-6 cm gaps, in a 2×3, 3×3 or 2×4 block. Hardest to get wrong, least interesting, and exactly right for a hallway or above a bed where you want calm rather than a focal point.
Salon. Mixed sizes and orientations, consistent gaps, one shared alignment — a straight bottom line, a straight top line, or a strong horizontal spine. Place your largest piece slightly below and off the centre, then build outward, never letting two portrait frames sit side by side. It is the arrangement behind every Parisian living room you have saved, and the only layout that absorbs mismatched frames gracefully.
Picture ledges. Two ledges 40-45 cm apart, the lower one around 130-140 cm from the floor, frames leaned and overlapped by about a third. Four screws instead of eighteen holes. They project 9-12 cm, so they are wrong in a tight corridor. The layering instinct is the same one behind a well-styled bookshelf.
One oversized piece. A single 100×140 cm canvas instead of nine small frames. In a small room this is usually the better call — one hole, one decision. It is also the most expensive layout to get wrong, since a bad large piece has nowhere to hide.
The paper-template method, step by step
Twenty minutes with newspaper saves an afternoon of filler.
- Lay the arrangement on the floor in front of the wall. If it goes above a sofa, tape the sofa’s width onto the floor so you compose against the real dimension.
- Trace each frame onto kraft paper, cut it out, and write the size on it.
- Mark the hanger point on every template. Pull the wire taut upward with one finger, measure how far below the top edge it sits, and mark an X that far down from the top of the paper. For D-rings, mark both rings.
- Find the centre of the outer rectangle the templates form, and mark that height on the wall at 145-152 cm.
- Tape the templates up with low-tack painter’s tape, starting at the centre piece. Cut a card to exactly 6 cm and use it as your spacer — faster and far more consistent than a tape measure.
- Leave it 24 hours. Look at it sitting down, from the doorway, and with the lamps on at night. About a third of the time you will move something.
- Drill through the X, tear the paper away, and level every third frame as you go rather than all of them at the end.
To see whether a grid or a salon hang suits the room before you cut anything, photograph the wall and restyle it in Architectural AI. It renders the look, not a measured plan — it does not know your wall’s dimensions — so use it to pick a direction, then measure for real.
Hardware by wall type
Drill a test hole somewhere inconspicuous and read the dust.
| Wall | How to tell | What holds | Realistic load per fixing |
|---|---|---|---|
| Plasterboard over timber studs | Hollow knock; studs at 40 or 60 cm centres | 45-50 mm screw into the stud | 20 kg+ |
| Plasterboard, no stud behind | Bit spins free after ~12 mm | Metal self-drilling toggle or strap toggle | 10-20 kg |
| Plasterboard with a plastic plug | — | Expansion plug only | 2-5 kg (A4 frames only) |
| Solid brick | Red-orange dust, hammer drill needed | 6 mm masonry bit, nylon plug, 5×50 mm screw | 25 kg+ |
| Concrete | Grey dust, slow even on hammer | 6 mm hammer-drilled hole, nylon plug | 30 kg+ |
| Hollow block or perforated brick | Bit drops into a void mid-hole | 8×80 mm frame anchor, chemical anchor if heavy | 15-25 kg |
| Plaster over lath | Soft, then hard, then hollow | Screw into the lath, or a toggle; tape the spot first | 5-15 kg |
Plaster over lath chips out unless you drill through a strip of masking tape. On hollow block, a plug gripping only the outer 15 mm shell will pull out under a 5 kg frame. On plasterboard, two fixings 30 cm apart beat one fixing rated for double the weight, because they stop the frame pivoting.
Renter-safe options. Adhesive picture-hanging strips hold roughly 1.8 kg per small pair, up to about 7 kg for large sets — check the pack. They need clean, fully cured paint, so wait a week after painting, and they fail on textured wallpaper and in bathrooms. Picture ledges cost two screws each, a defensible number of holes to fill, and a picture rail with hooks and steel cord costs none at all. Keep a note of what you drilled; the renter’s deposit checklist covers what landlords actually charge for.
Mixing frames without it looking like a jumble
Hold one thing constant and vary the rest: frame colour, mount width, or medium. All black frames around wildly different art works. All photography in six different frames works. Random frames around random art does not.
Mounts do more work than frames. A 5-6 cm mount around an A4 print makes it look deliberate; 8-10 cm reads as gallery-grade. If the prints were cheap, spend on mounts rather than mouldings. Two more limits: no more than two metal finishes in a group, and never put the heaviest piece — darkest, or highest contrast — at an outer edge, because it drags the composition sideways, the same balancing instinct behind choosing which wall to accent.
What this advice cannot fix
Undersizing. If the art covers less than half the sofa, no arrangement rescues it — you need more pieces or bigger ones, and that costs money. Height errors compound too: a group hung 15 cm high above a sofa also fights curtains hung wrong, a separate set of numbers in the curtain length and hanging guide.
Lighting is its own problem. A gallery wall lit by one central ceiling fitting looks flat however well it is composed; a picture light or a floor lamp raking across the wall at 30-45 degrees changes it more than any layout tweak, as the room-by-room lighting guide sets out. Glazing matters more than people expect, too — standard glass mirrors whatever window faces it, so buy non-reflective glass for the two or three pieces opposite the window and save the money everywhere else.
FAQ
How high should I hang a gallery wall?
Treat the whole arrangement as one rectangle and put the centre of that rectangle 145-152 cm (57-60 in) above the floor. That is average standing eye level and the height galleries hang to. Do not centre each frame individually, and do not centre the group in the empty wall above the sofa — that is what pushes gallery walls 15-20 cm too high.
How much space should be between frames on a gallery wall?
Between 5 and 8 cm (2-3 in), and the same gap everywhere. Cut a piece of card to your chosen gap and use it as a spacer instead of measuring each time. Smaller frames can go to 5 cm, large heavy pieces to 8 cm. Once gaps pass roughly 10 cm the frames read as separate objects rather than one composition.
How high above a sofa should art hang?
The bottom edge of the lowest frame should sit 15-25 cm (6-10 in) above the top of the sofa back. Closer than 15 cm and heads knock it; further than 25 cm and the art visually detaches from the furniture. On a standard sofa with an 80-85 cm back, that puts the bottom edge around 100-105 cm from the floor.
How do I hang a gallery wall without damaging the wall?
Three options. Adhesive picture-hanging strips hold roughly 1.8 kg per small pair up to about 7 kg for large sets, but fail on textured wallpaper and on paint less than a week old. Picture ledges need only two screws each and let you swap art freely. If the flat has a picture rail, hooks and cord give you a genuinely hole-free hang.
Can you mix different frame styles on a gallery wall?
Yes, if you hold one thing constant. Pick either a single frame colour, a single mount width, or a single medium (all photography, all prints) and vary everything else. Holding two of the three is safer still. Mixing frame colour, mount width, size and medium all at once is what makes a wall look accidental rather than collected.
What size art should go above a sofa?
The arrangement should span roughly two thirds of the sofa’s width. A 210 cm sofa wants about 140 cm of art; a 180 cm sofa wants about 120 cm. That can be one large piece or a group of small ones with the gaps counted in. Art that covers less than half the sofa width is the single most common gallery wall mistake.
Keep reading